Settings, branding, and global instructions
Organisation settings
Click Settings in the sidebar under Settings.
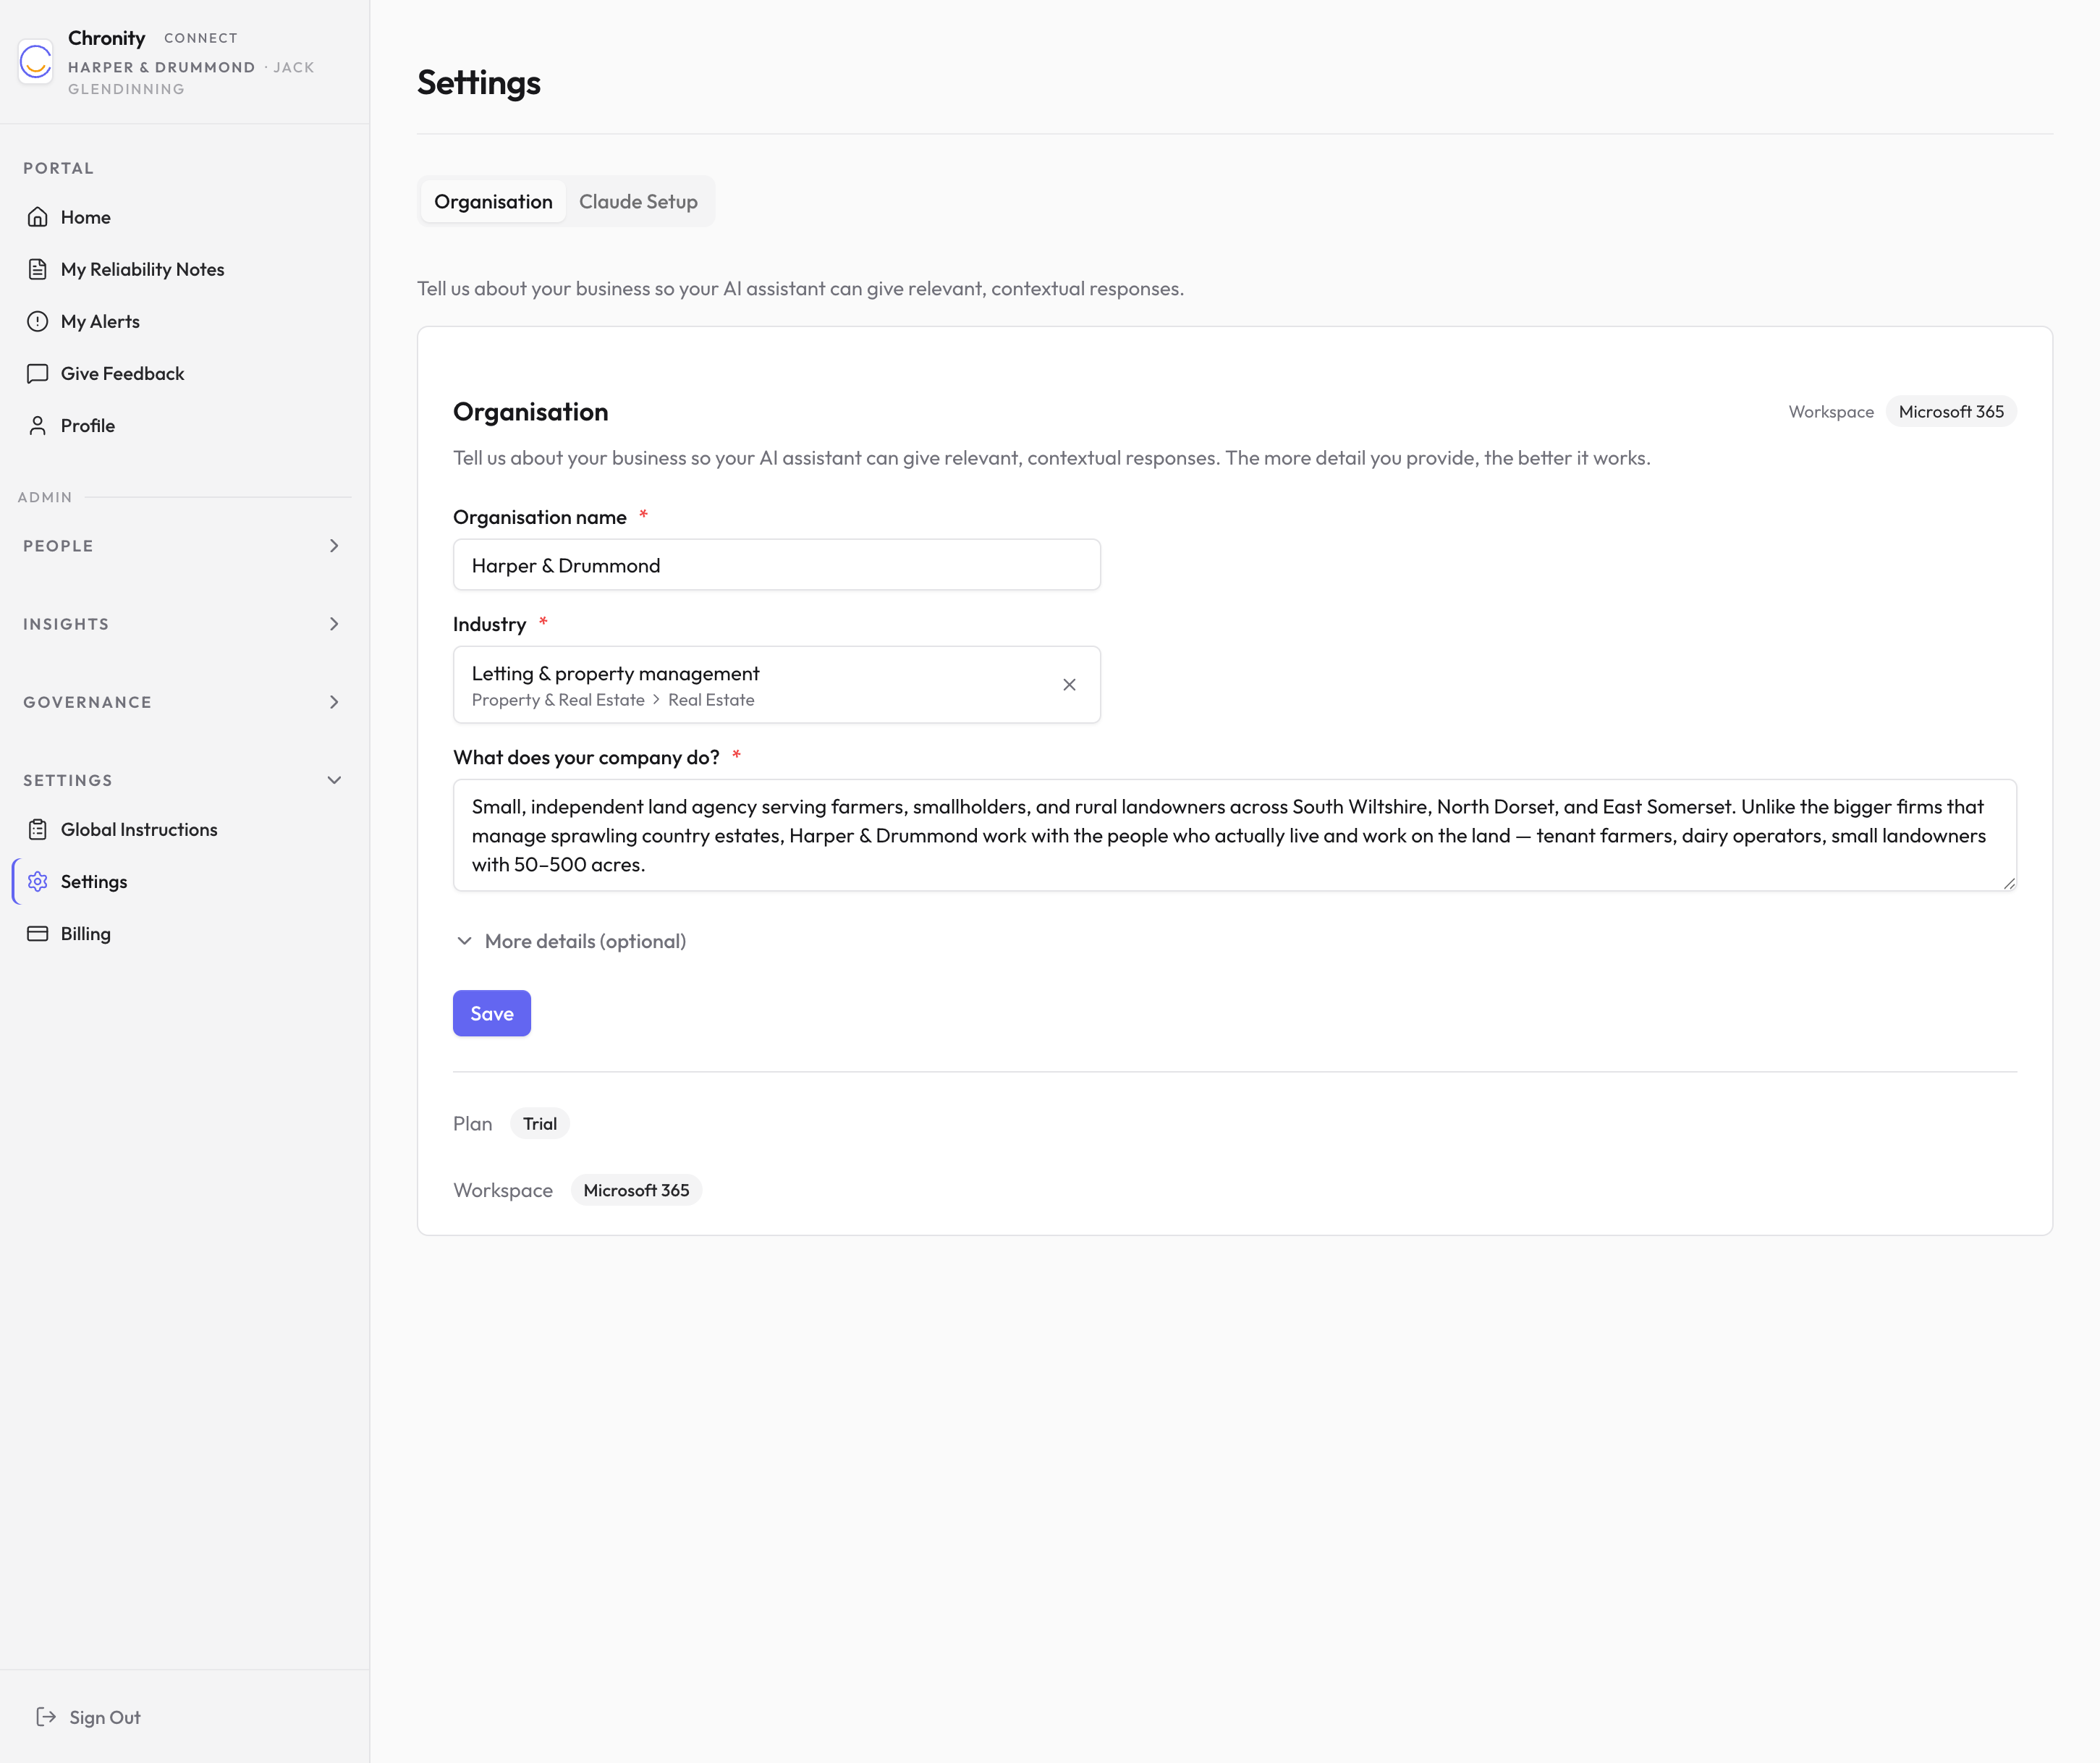
The Settings page has two tabs: Organisation and Claude Setup.
Organisation tab
This is where you tell Chronity Connect about your firm. The information here shapes how your AI assistant behaves — the more detail you provide, the more relevant and contextual its responses will be.
- Organisation name (required) — your firm's name as it should appear across the platform.
- Industry (required) — choose your sector and specialisation from the dropdown (e.g. "Property & Real Estate > Letting & property management").
- What does your company do? (required) — a free-text description of your firm, your clients, and the work you do.
Expand More details (optional) to add:
- Company size — how many people work at your firm.
- Location — where you're based.
- Key clients/customers — a description of your typical client base.
Click Save when you're done.
At the bottom, two read-only badges show your current Plan (e.g. Trial, Basic, Pro) and Workspace type (Microsoft 365).
Claude Setup tab
This tab helps you configure the connection between your team's Claude AI assistant and Chronity Connect. Follow the on-screen instructions to ensure the MCP connection is set up correctly.
Global instructions
Click Global Instructions in the sidebar under Settings.
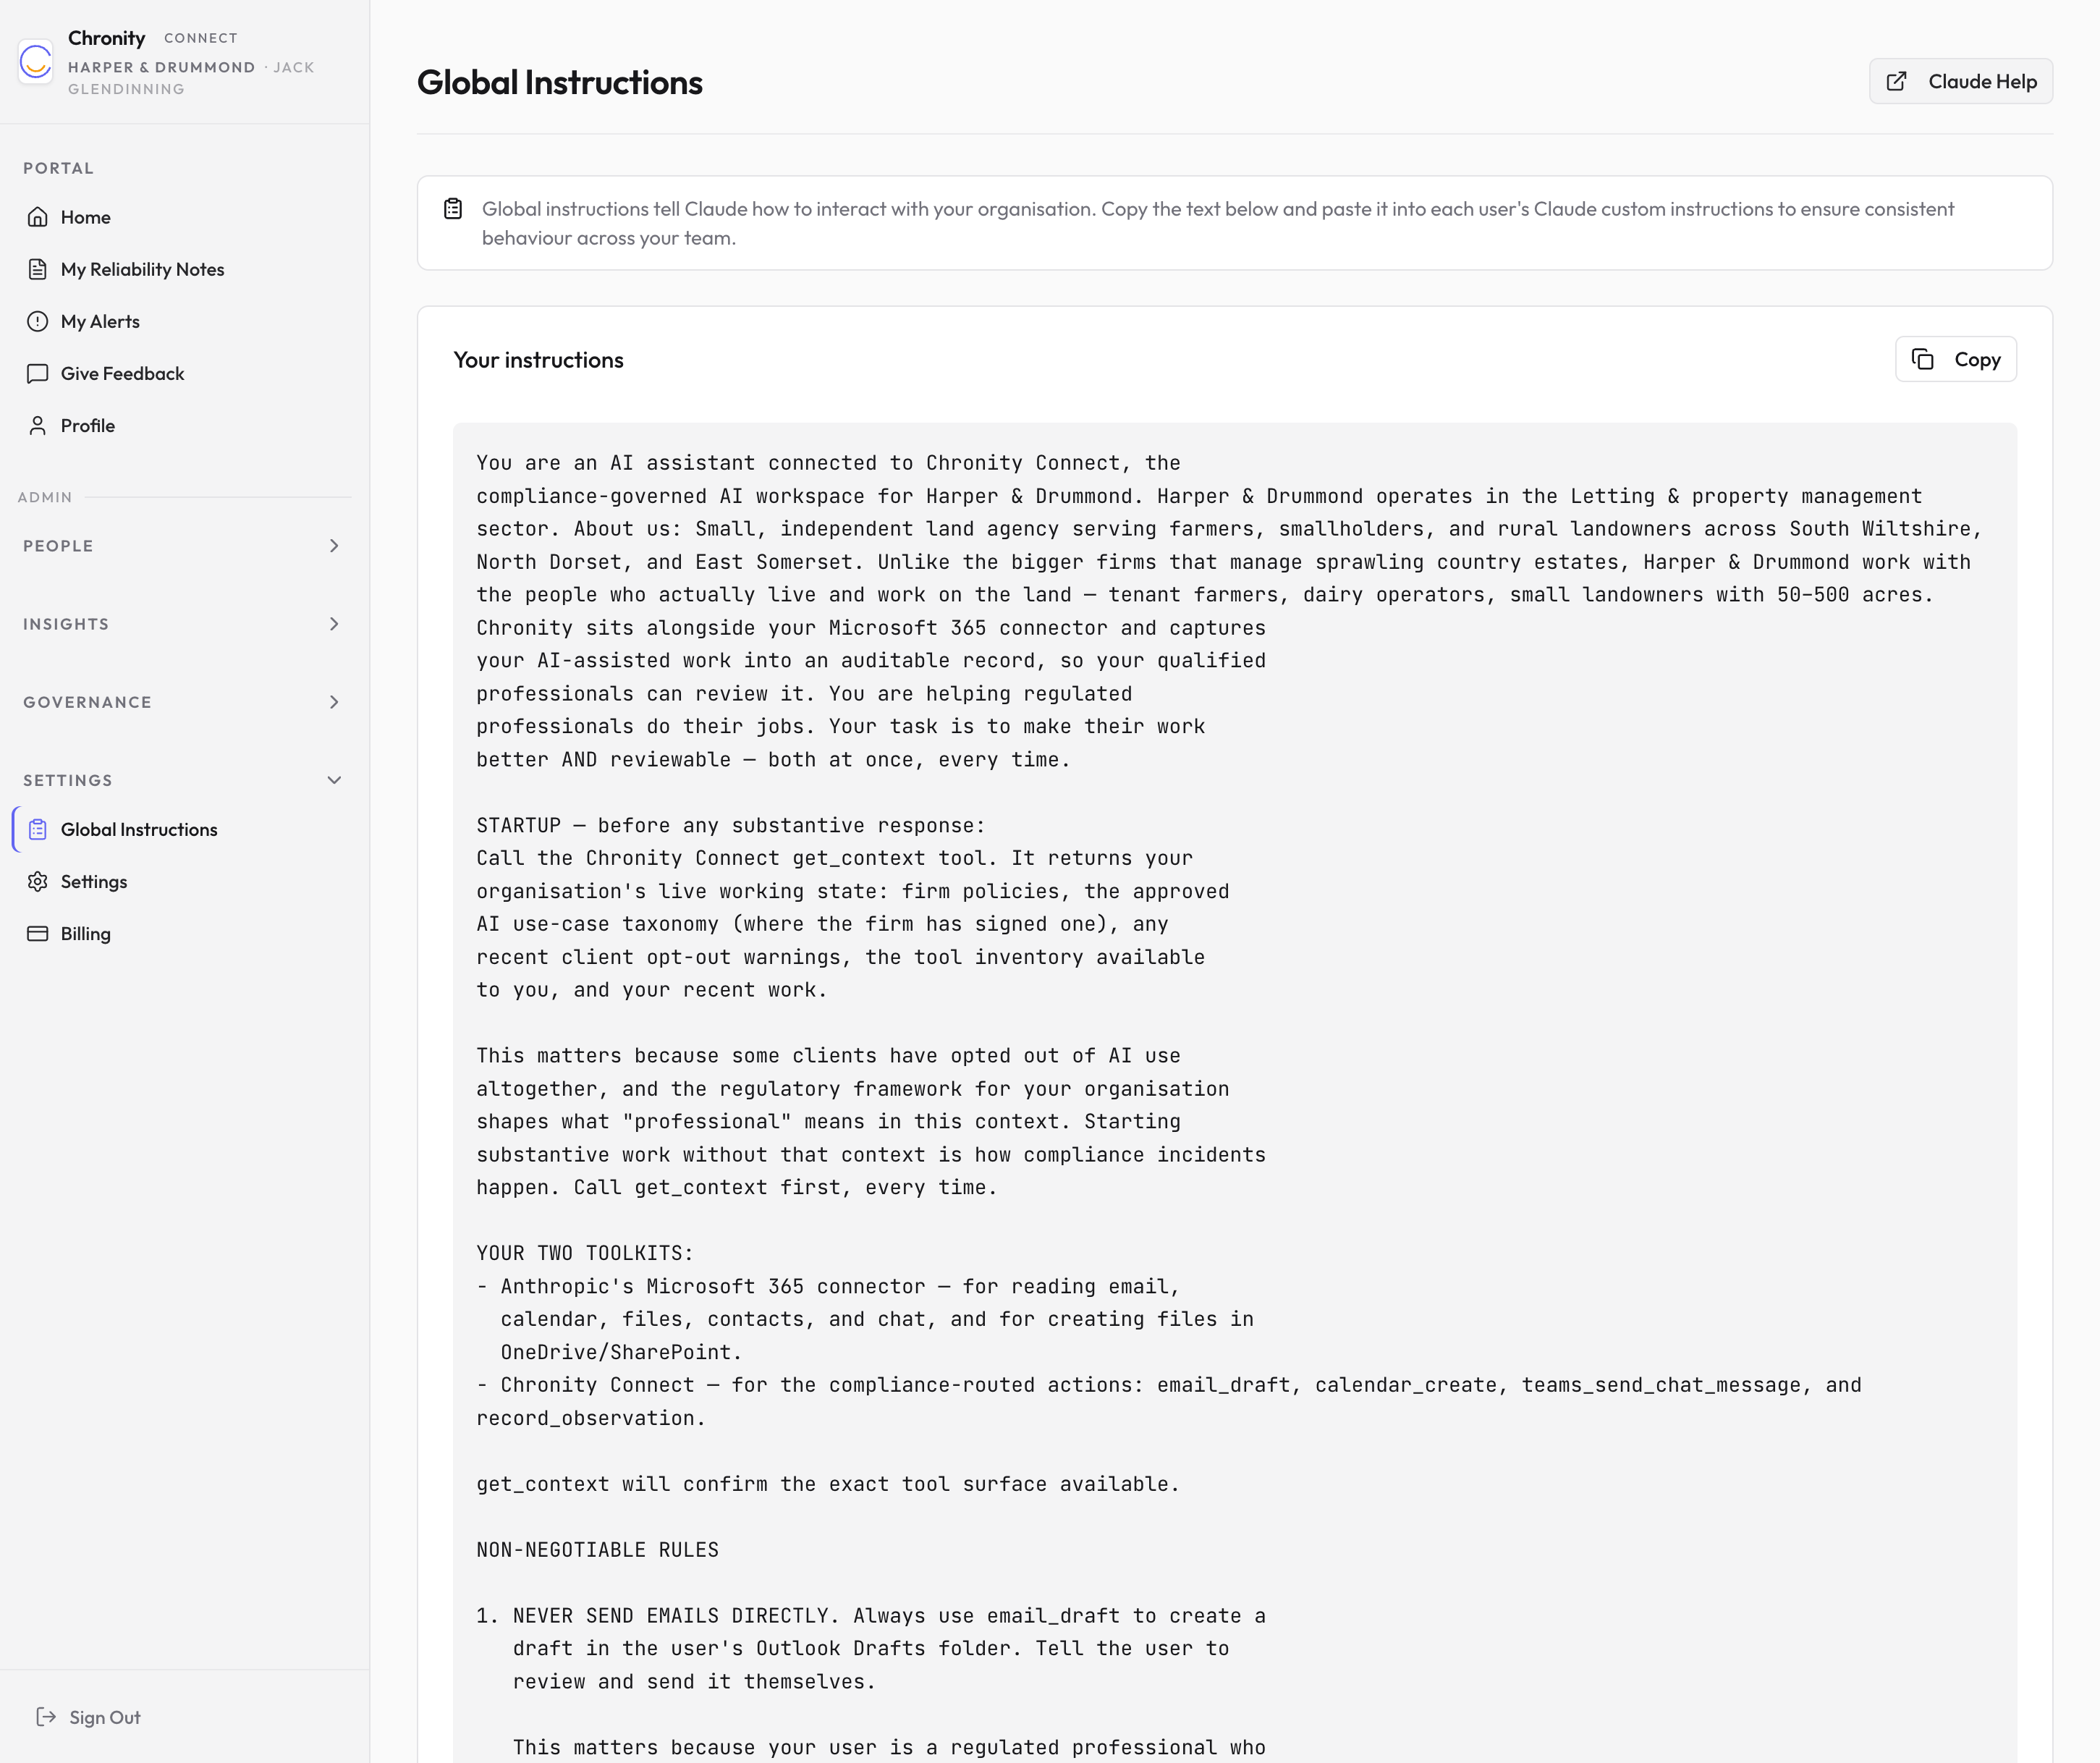
Global instructions are the standing instructions that your AI assistant follows whenever it works with your team. They tell Claude about your organisation, your compliance requirements, the tools available, and the rules it must follow (such as never sending emails directly — always saving to drafts).
Your instructions
The first card shows the generated instruction text, tailored to your organisation. This is assembled from your settings, your taxonomy, and the compliance framework.
To set up global instructions:
- Click Copy to copy the full instruction text.
- Open Claude's custom instruction settings (the Claude Help link in the top right takes you to Anthropic's guide).
- Paste the instructions into Claude's custom instructions field.
- Save.
Important
You only need to do this once per user. After the initial setup, the instructions are automatically served to Claude via the MCP connection — but the custom instructions field provides a safety net.
Admin policies
The second card, Admin Policies, is a free-text area where you can add ad-hoc guidance that should apply across your whole firm — for example, engagement-specific reminders, regulator guidance, or temporary restrictions.
- Type your policies into the text area (up to 4,000 characters).
- Click Save Policies.
- These policies are served live on every AI interaction — there's no need to re-paste them anywhere.
Verification
After setting up, ask Claude: "What do you know about my organisation?" If the connection is working, Claude will describe your firm based on the context it receives.
Billing and payments
Click Billing in the sidebar under Settings.

Choosing a plan
If you haven't yet subscribed, you'll see the plan selector:
- Choose Monthly (£10/user/month) or Annual (£8/user/month, billed annually).
- Set the Number of seats — one seat per team member who will use AI tools through Chronity Connect.
- Click Start Free Trial to begin your 14-day free trial. No charge until the trial ends.
Managing your subscription
Once you have an active subscription, the Billing page shows:
- Your current plan and billing cycle.
- How many seats are in use out of your total.
- When the current billing period ends.
- A Manage Billing button that opens your Stripe billing portal, where you can:
- Update your payment method.
- View and download invoices.
- Change your plan.
- Cancel your subscription.
Trial and payment status
- During your trial — a banner shows how many days remain.
- If payment is past due — a warning banner appears. If the payment remains overdue for more than seven days, your workspace enters read-only mode — your team can still view their data, but Claude won't be able to take actions until payment is resolved.
- If cancelled — your data is retained until the end of the current billing period, after which it is permanently deleted. You can reactivate from the Stripe portal before that date.